Checkout
Due Date:
Revisions Due:
To explore the notion of a database, you will be building a checkout page. This will be a pretty dumb checkout page, you won't have to worry about introducing items on any level and there's no need to worry about taking payment information of any kind. On that side it will pretty much be a page with a button.
The interesting bit, which will be what requires the database, is that you'll also be introducing a page useful for administrators of the system. When that button on the checkout page is clicked, an entry will be recorded in the database which can be viewed on this new page. Don't worry about limiting the access to the page or anything like that, you just need to build a page which shows a list of order dates pulled from the database.
I created some example code you can use to guide your implementation. Pieces of this code will be referenced throughout this page, but you can interact with the end result here.
Creating the Database
Vercel's free tier allows a single small database, so we're going to create a PostgreSQL database. I've created one for the main site controlled off of my repository, and have added screenshots so you can do the same on your version of the site.
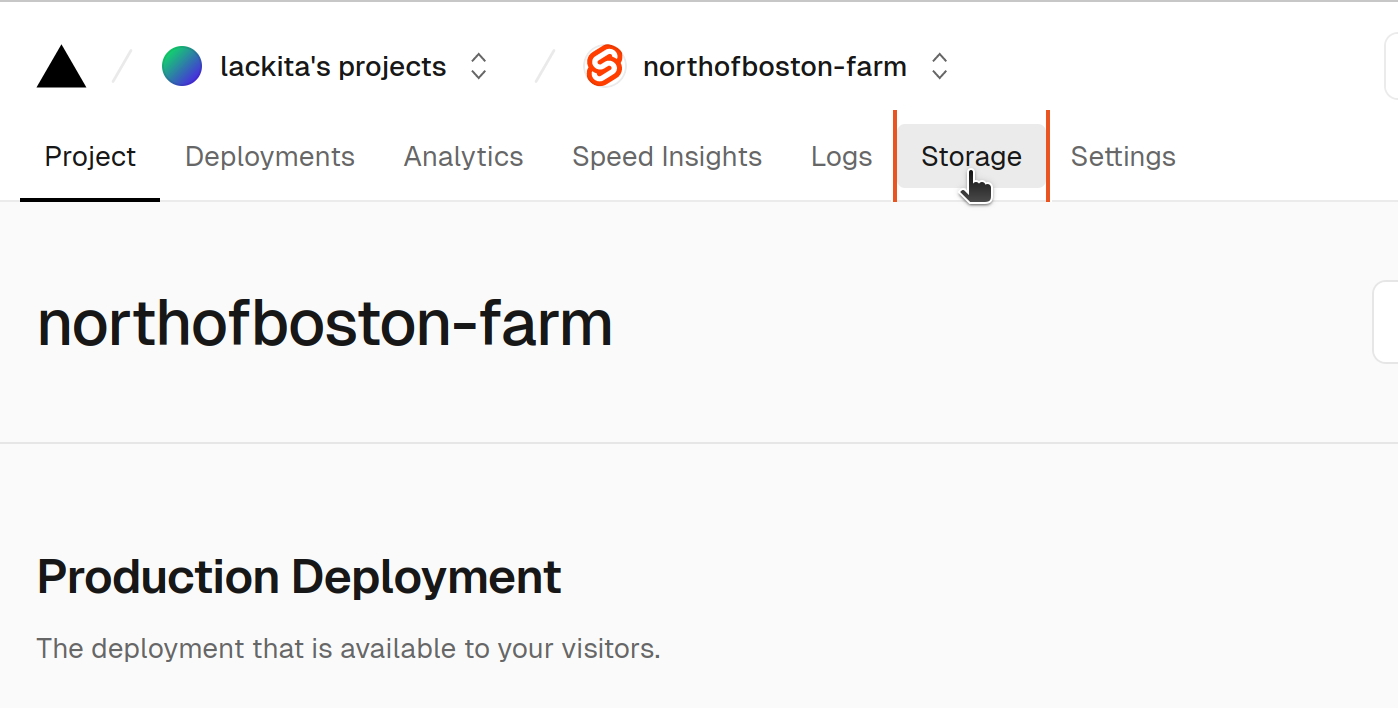
When you log in to Vercel, you will see a Storage tab at the top of the page:
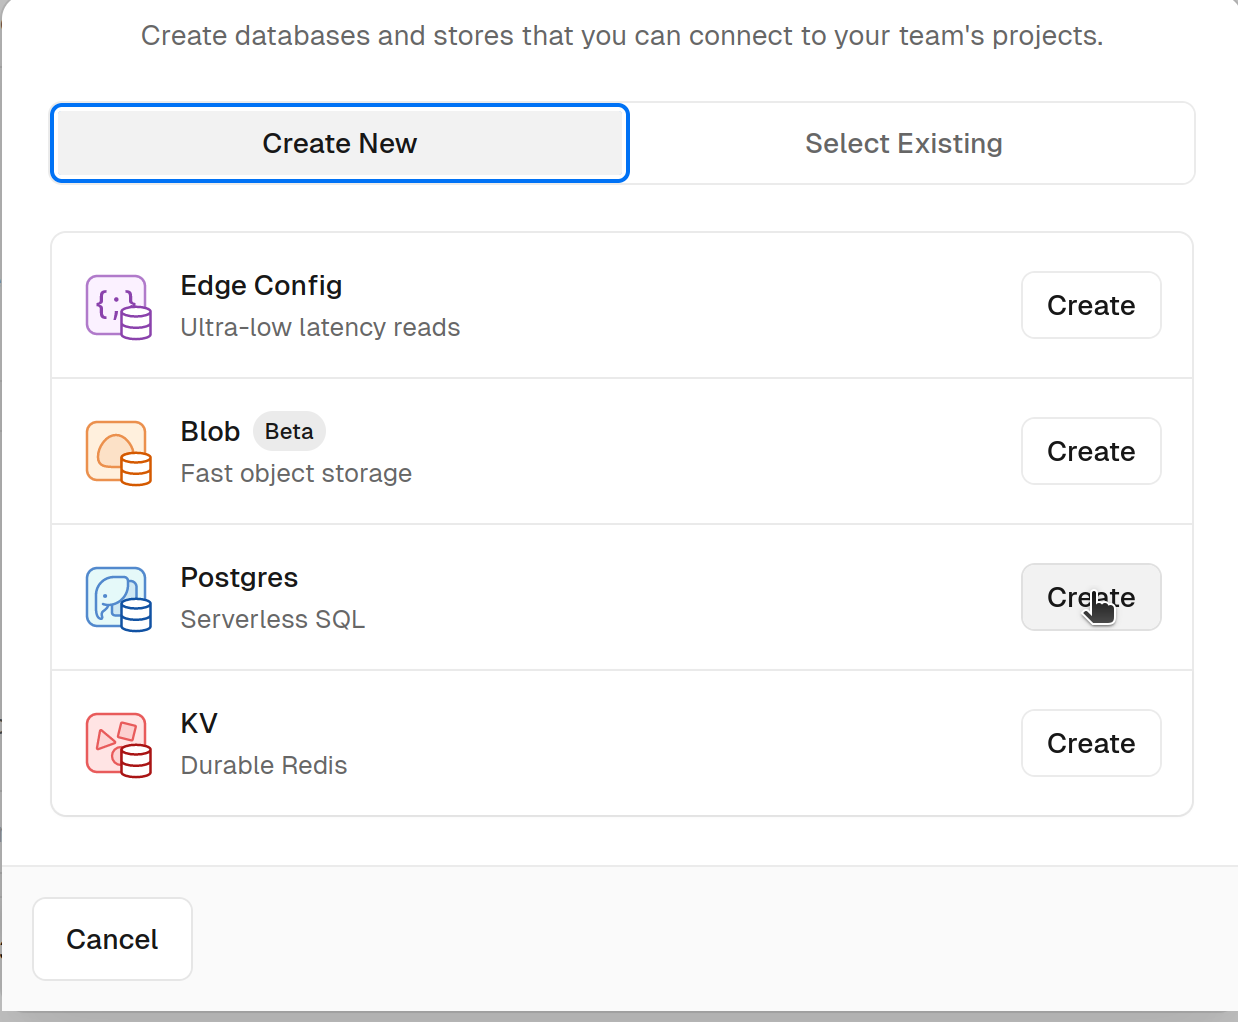
From there you will want to create a database:

Then select Postgres from the types of databases available:
You will have a few other choices to make about names and things like that, after which you'll land on a getting started page. Make sure to select the SvelteKit option from the top before following the instructions:
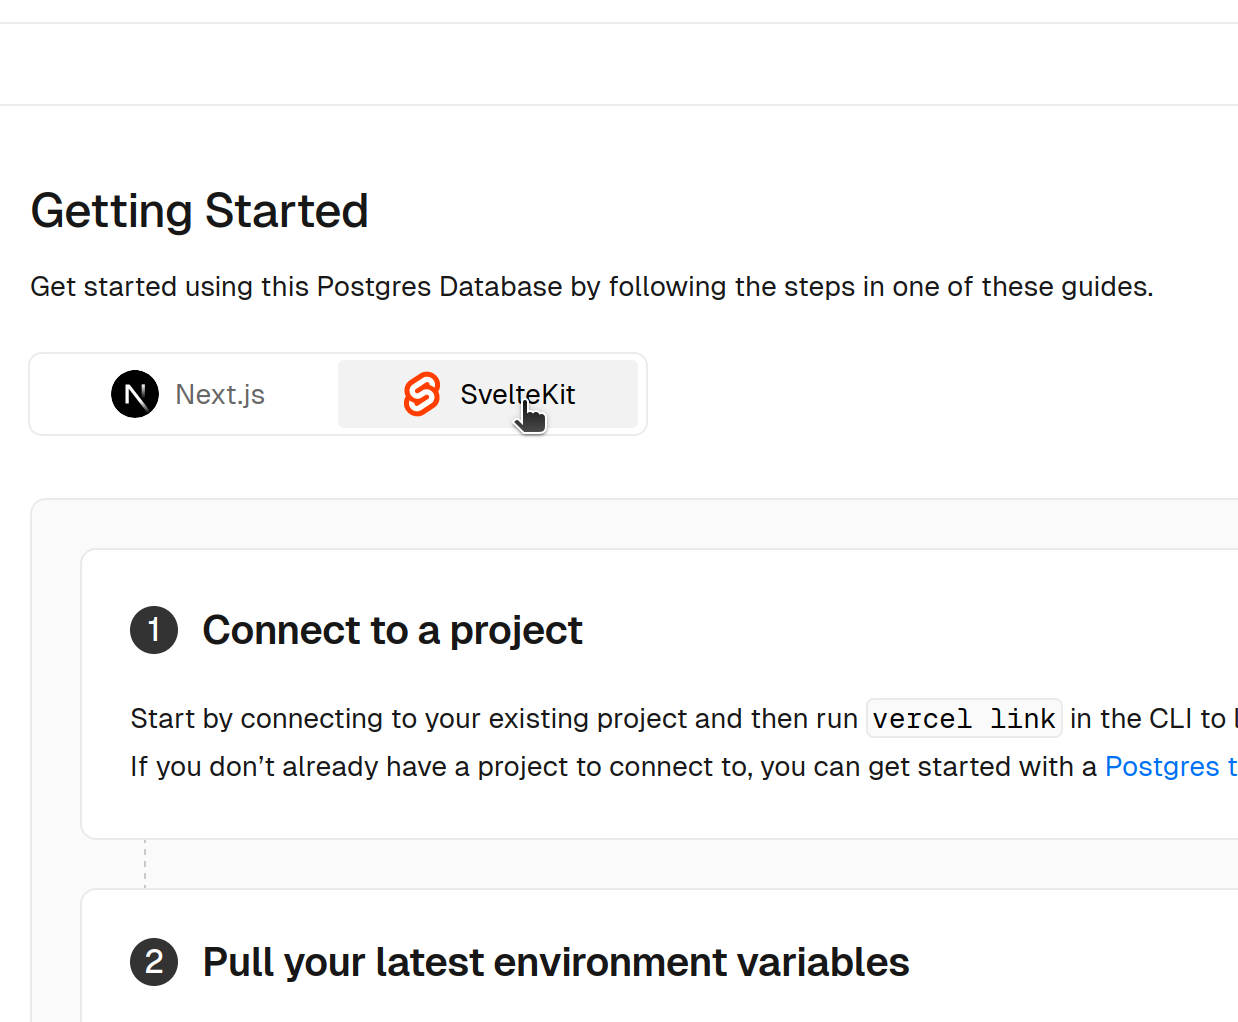
These steps will get you a basic setup for interacting with a database. Follow the first step
of the "Getting Started" instructions, but skip the rest as I'll be setting up an alternative
approach covered in the next section. You probably don't have the vercel CLI set up,
but the big "Connect Project" button will accomplish the same goal. Keep that page open, though,
as you'll need some information it provides to finish setting things up.
ORMs
Rather than interact directly with SQL, most of the time modern projects use something called an Object Relational Mapper, also known as an ORM. These tools simplify the management of databases, which will establish conventions we would otherwise need to build ourselves.
For this project, I've updated the codebase to use Prisma to interact with Postgres. I'll provide the basics on this page and include an example page using it in the codebase.
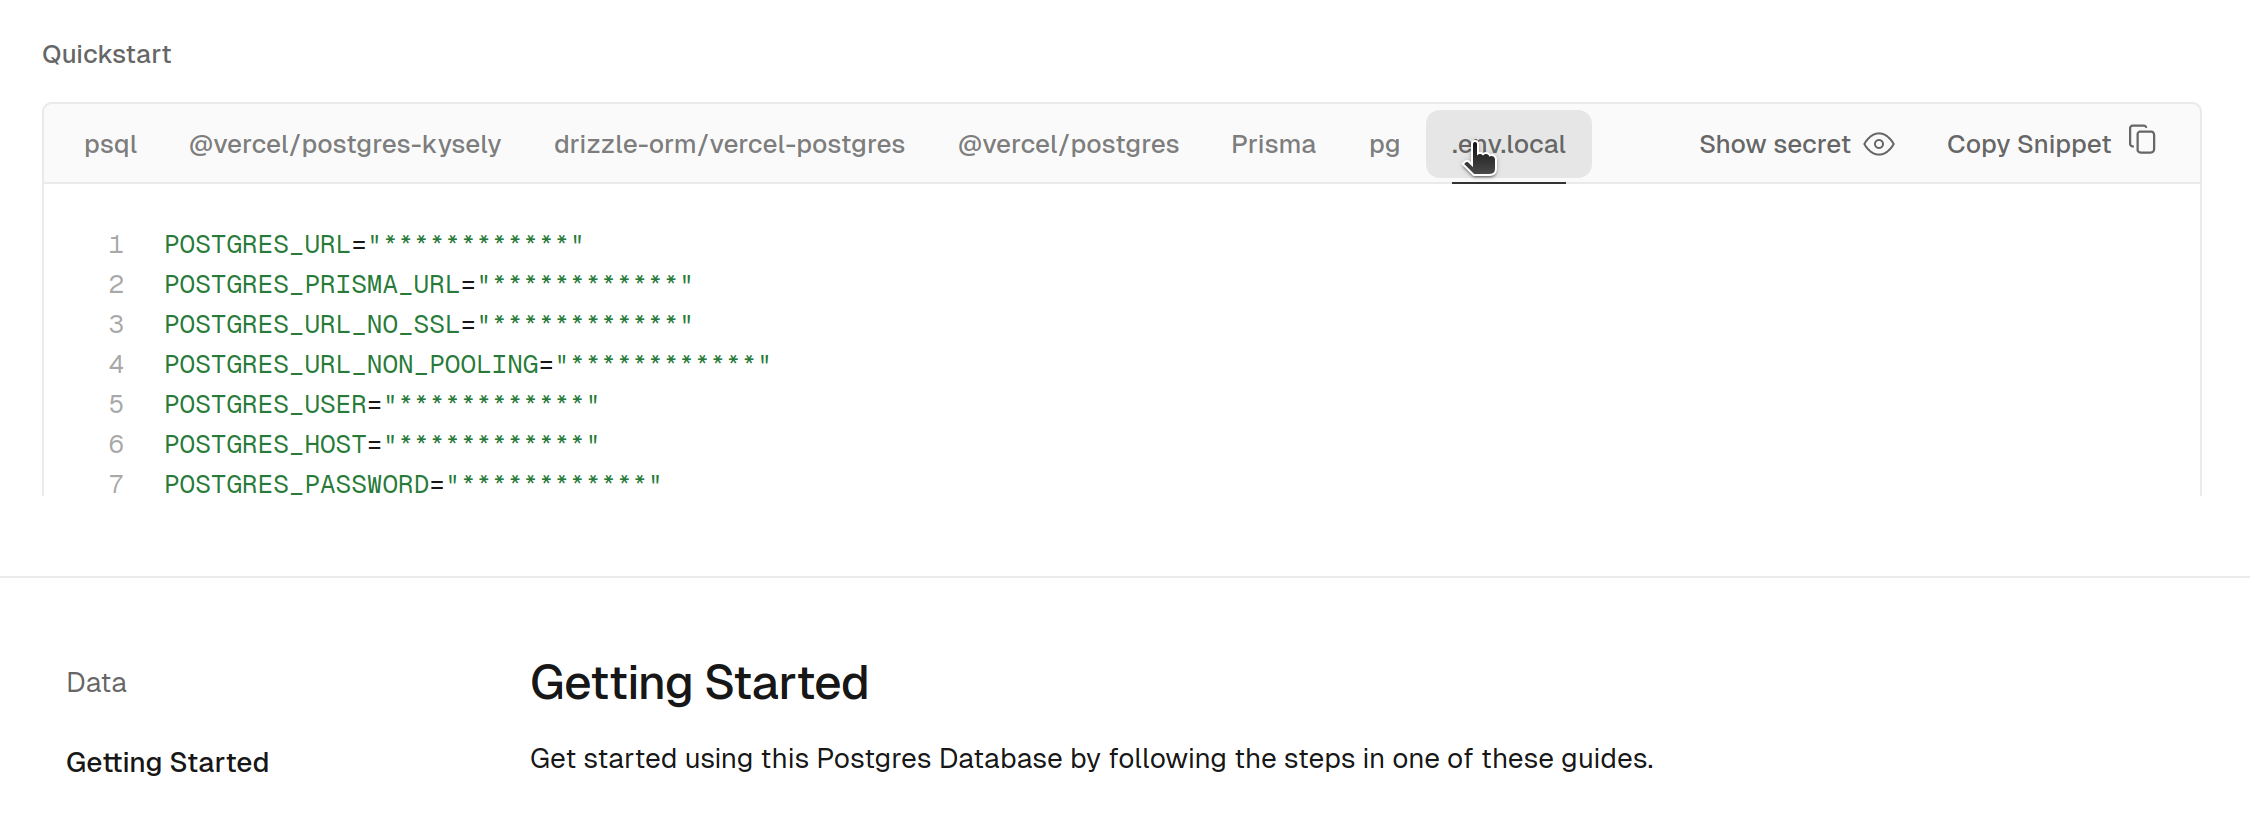
When you connected the project in the previous section, it set up environment variables in
your Vercel project. To use the same database locally you'll need to add these to a file
called .env in the root of your project. For the contents of that file, go back
to that "Getting Started" page and look for the .env.local tab:
This file isn't going to get checked into Git, as it's already excluded in the .gitignore file. This is a pretty typical pattern projects follow to allow a local setup for developers that never impacts production systems. Most of the time, you'll never gain access to the production credentials, they will be written in as part of the production deployment.
Migrations
As discussed in class, typically you aren't going to have a full understanding of the schema prior to deployment. As a result, it will need to be altered regularly as you build features. In fact, attempting to fully design a schema before building features that use it is a great way to over-complicate the database.
These revisions are typically known as migrations, and different ORMs handle them in different ways. The way Prisma handles it is to use a schema file to dictate the structure of the database.
I created an example table to demonstrate how this works. After adding the model, I ran this to apply the change to the database:
$ npx prisma migrate dev --name example
Environment variables loaded from .env
Prisma schema loaded from prisma/schema.prisma
Datasource "db": PostgreSQL database "verceldb", schema "public" at "ep-still-credit-a4o5lgah.us-east-1.aws.neon.tech:5432"

Applying migration `20240327142754_example`

The following migration(s) have been created and applied from new schema changes:

migrations/
  └─ 20240327142754_example/
    └─ migration.sql

Your database is now in sync with your schema.

Running generate... (Use --skip-generate to skip the generators)

added 1 package, and audited 211 packages in 2s

49 packages are looking for funding
  run `npm fund` for details

found 0 vulnerabilities

✔ Generated Prisma Client (v5.11.0) to ./node_modules/@prisma/client in 32ms
As you can see, the command also generated this file, which specifies the actual sql that needs to be run to align the database with the schema file.
Once you have your database set up, you should run npx prisma migrate dev
yourself after pulling these changes down, what you'll find is that the database you created
in the last step now also contains a table called Example. It accomplishes this
by identifying any migration files not yet applied and running the sql in them. At this
point, you can even run your local dev server and build up your own list of examples.
In a production grade application, the migration would be run against production as part of the deployment process. This assignment is already complicated enough, though, so I'll accomplish this by running migrations manually after merging your changes.
Working With Objects
The reason ORMs get their name is because they take information in the database and map them to objects. Instead of writing a select query and manipulating the results, you are able to call a function that constructs the query and maps it to an object. You can see that in the example here, here's the relevant line:
const records = await this.client.Example.findMany();Underneath, this is generating and executing a SELECT query. It's then taking the
results and mapping it to an array of objects that looks like this:
[{
  id: 1,
  value: "one",
}]
In practice, it doesn't mean you can forget about the database, but it can simplify basic use cases. If you start getting into complex queries, you'll find yourself fighting with the tool, but it's extremely helpful 99% of the time.
SQL Refresher
Even though you're not going to be writing queries directly, I did promise a SQL refresher. What I had in mind is a little game called SQL Island. It's written in German, but there's other translations buried in the menu. For example, these instructions show you how to switch to the English version.
Acceptance Tests
You can find the actual story you're completing here, but because this is the first one that has acceptance tests I'm going to break down what's expected more explicitly.
The first acceptance test is "The user can reach the order from wherever they are on the site", and this is more UI oriented. Another way to think about it is that you want to put a link to a shopping cart somewhere in the header. Because this criteria is related to the user interface, we're not going to worry about implementing an automated test as part of this course, manual testing is sufficient.
The second acceptance test is "When an order is placed, it appears in the order history." You will be expected to created an automated test for this, but not by using the database. I've established a pattern with the example, which you should follow in your solution.
Testable Design
Let's begin by looking at the logic to list examples:
export async function example_list(table) {
    return await table.all();
}
Notice how it's completely unaware of the fact that it's interacting with Prisma or the
database. You get a clue to that purpose with the variable table, but that's
just a name to make how it's used clearer.
Because of this inversion of dependencies, it's possible to pass any object into this
function that implements all. Most importantly, look at one of the
tests for this function:
import { Examples } from "./database/memory";

test("one example", async () => {
    const value = "value";
    expect(await example_list(new Examples([value]))).toContainEqual(value);
});
Notice that this test uses an in-memory database. This isn't anything fancy, all we're really doing is maintaining a list inside of a class that can stand in for the database. Here's the code for that class, which is what we'll be using when running our tests.
export class Examples extends MemoryTable {
    async all() {
        return this.records;
    }

    async add(value) {
        this.records.push(value);
    }
}
When running with the actual site, on the other hand, you would use the Prisma implementation. Notice how it implements all of the same methods, and neatly hides the implementation details of interacting with that database behind this abstraction.
export class Examples extends PrismaTable {
    async all() {
        const records = await this.client.Example.findMany();
        return records.map((record) => record.value);
    }

    async add(value) {
        await this.client.Example.create({
            data: { value },
        });
    }
}
Now, when building a list of examples to display, this class can be used instead. The all
method in both cases returns a list of strings. When interacting with examples when loading the
page, they would be
loaded like this:
import { example_list } from "$lib/server/example_list";
import { Examples } from "$lib/server/database/prisma";

export async function load() {
    return {
        values: await example_list(new Examples()),
    };
}
When building the code to allow checkout, you will need to build classes that also extend MemoryTable
and PrismaTable. You should then build functions in src/lib/server
that have unit tests attached to them using the MemoryTable implementation. All
the code included in +page.server.js should accomplish is connecting the
DatabaseTable implementation to a function call and defining the returned data structure.